Environment for Revit®
Remote Installation Tool and Administration
Table of Contents
- Overview
- Preparing your Network
- Installation and Setup
- Running RITA
- RITA Dashboard
- Using RITA – Best Practices
1. Overview
The RITA Remote Installation and Administration App is an auxiliary administrative tool for managing Environment for Revit deployments within organizations with centralized IT administration. RITA allows system administrators to easily install, update and remove Environment for Revit installations on workstations, thereby relieving and avoiding the risks of end users having to carry out such tasks on their own.
2. Preparing your Network
For RITA to run correctly, you will need to ensure that your network is configured correctly. You may use our dedicated network configuration utility or apply the changes manually.
a. Manual Configuration
1. Local administrator account credentials (username / password) must be identical on the computer on which RITA is installed and the computers on which you plan to install Environment for Revit.
2. RITA must be granted access to the special network folders “C$” and “Admin$”. If RITA is not able to access these folders:
- Open the registry editor (using the Regedit program)
- Go to HKEY_LOCAL_MACHINE\SOFTWARE\Microsoft\Windows\CurrentVersion\Policies\System
- Create a new DWORD (32-bit) parameter named LocalAccountTokenFilterPolicy
- Set the value of the LocalAccountTokenFilterPolicy parameter to 1.
- Check that Admin shares include the following registry entry: [HKEY_LOCAL_MACHINE\SYSTEM\CurrentControlSet\Services\LanmanServer\Parameters] «AutoShareWks»=dword:00000001 и «AutoShareServer»=dword:
If the key does not exist, then add it.
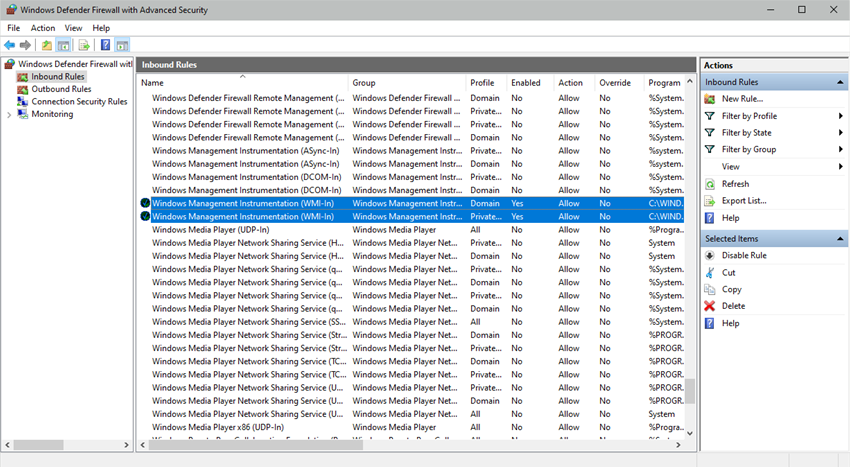
3. Windows Firewall must be configured to permit incoming WMI connections. To do this, configure Windows Firewall as follows:
- Press the Windows key + R.
- Enter “wf.msc” in the displayed window.
- The window shown in Figure 1 will be displayed.
- Make sure that the rules highlighted in Figure 1 are enabled.
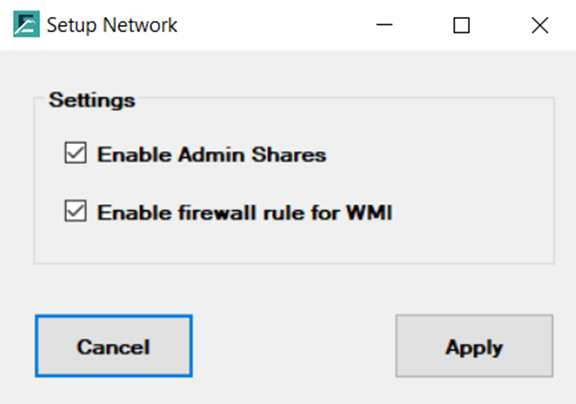
b. Automated Configuration
Alternatively, you may download and run our dedicated configuration utility as follows:
1. Download the network configuration utility: https://archintelligence.com/files/SetupNetwork.exe.
2. Install and run the utility on each remote computer requiring configuration.
3. In the displayed window (Fig. 2), mark both checkboxes:
3. Installation and Setup
a. Download and install the installation file
Download the installation file, “EnvironmentRITSetup.msi” file, to your computer and run the installation. You may cancel the installation at any time by clicking the “Cancel” button.
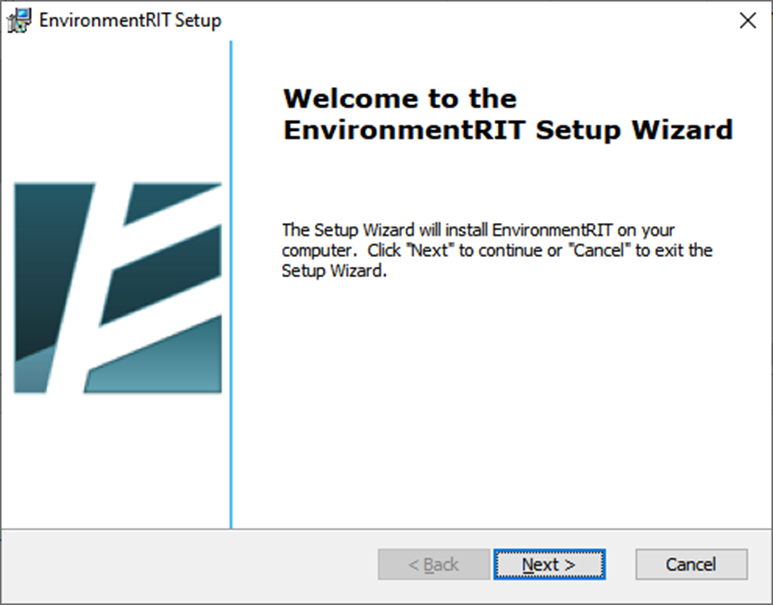
b. Start the Installation Wizard
Running the setup file launches the Installation Wizard. The Wizard’s welcome screen will be displayed. (Fig. 3). Click “Next” to proceed with the installation.
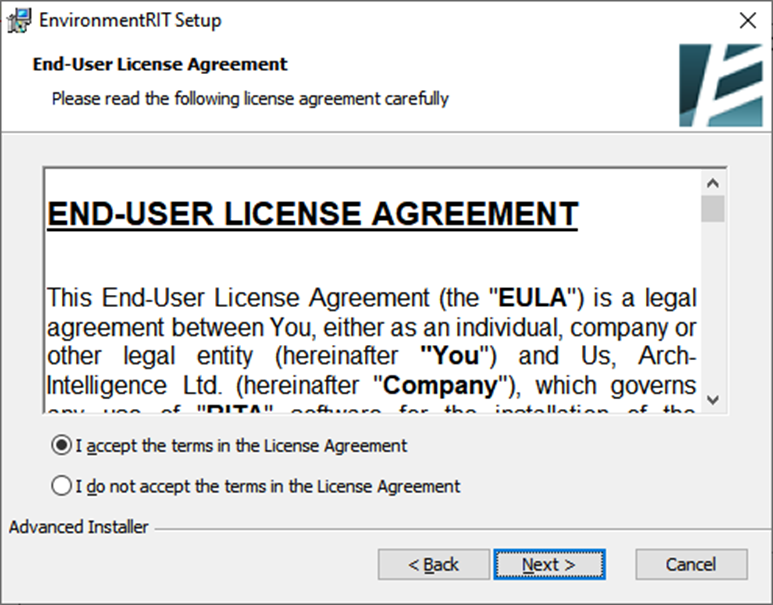
c. Accept the License Agreement
The second wizard window displays the RITA End User License Agreement (EULA) (Fig. 4). Select the option to accept the terms of the EULA (this option is selected by default) and click “Next” to proceed with installation. If you choose not to accept the terms of the EULA the “Next” button will be disabled and you will not be able to proceed with the installation. In this case, select “Cancel” to exit the installation.
d. Install RITA on your computer
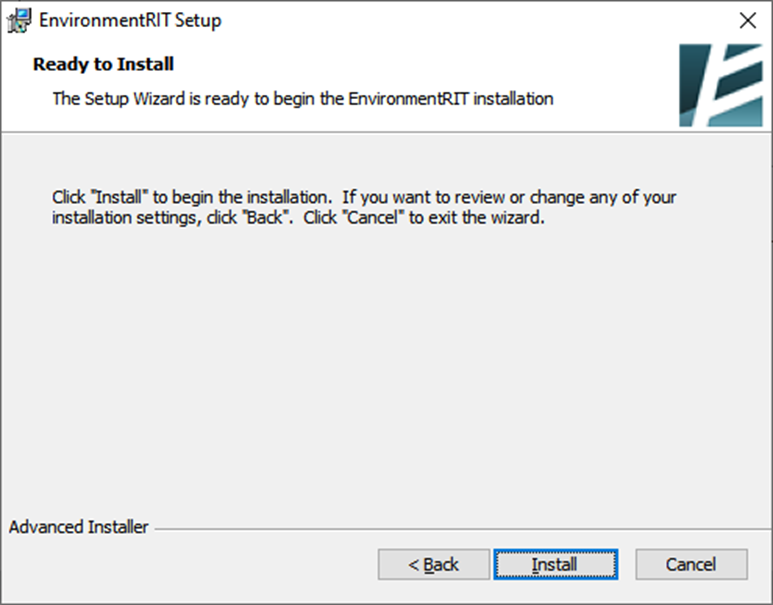
In the following screen you will be asked to confirm your consent to install RITA on your machine (Fig. 5). Click on “Next” to commence installation of the software, during which all relevant files will be copied to your computer.
e. Complete the installation
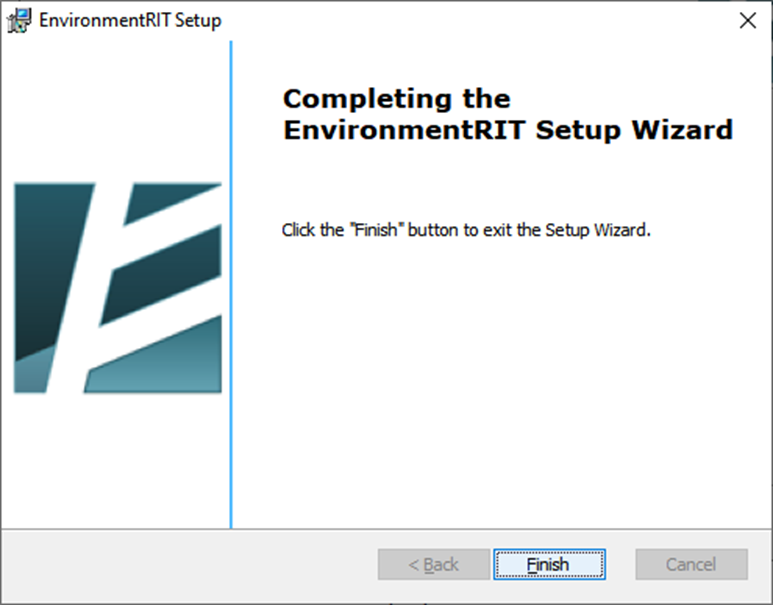
Upon completing the installation, the wizard will notify you that it has completed RITA setup (Fig. 6). Click “Finish” to exit the Installation Wizard.
4. Running RITA
a. Launching RITA
After installation, the “Environment Remote Installation Tools” launcher will appear in the main Windows menu (Fig. 7).
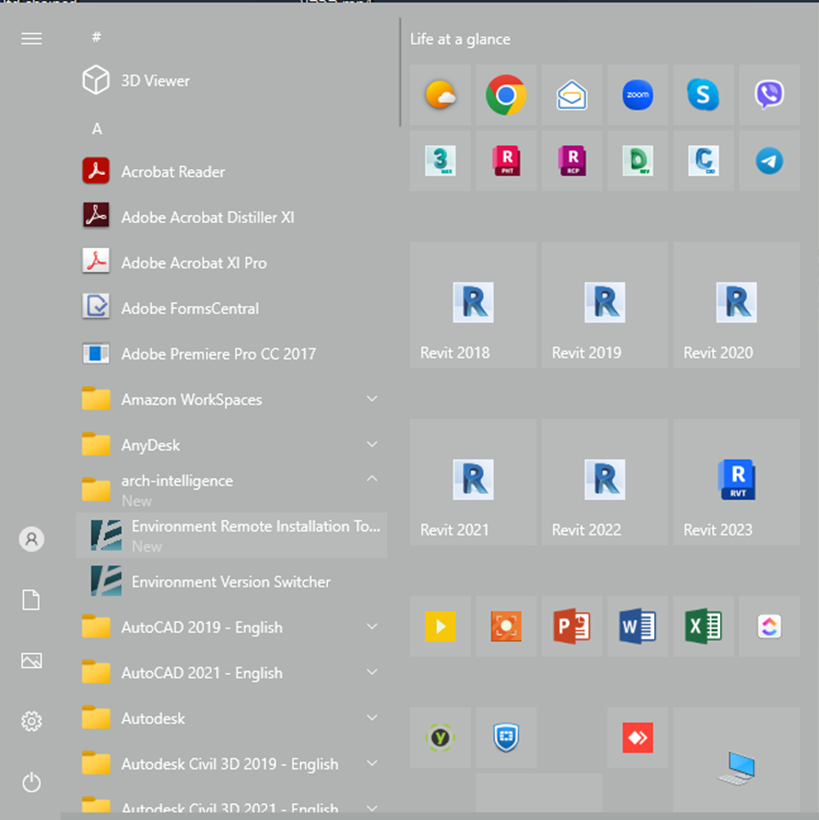
Click on “Environment Remote Installation Tools” to launch the application.
Note: System administrator rights are required to run the application.
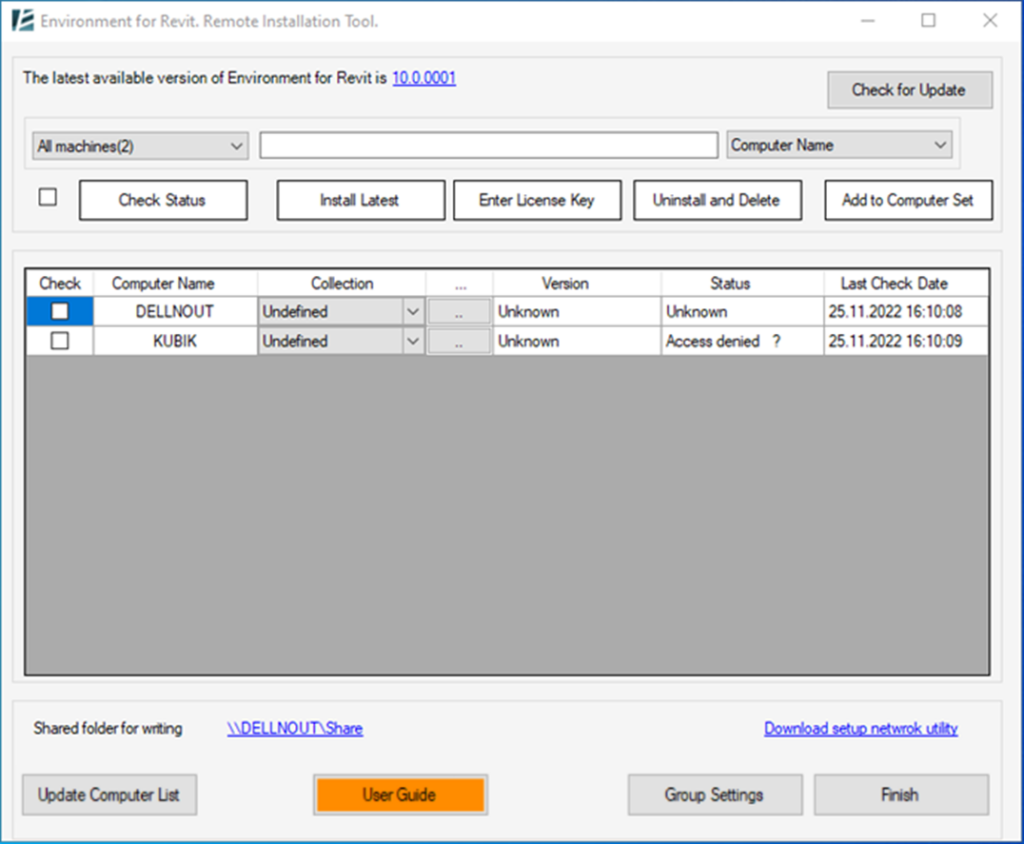
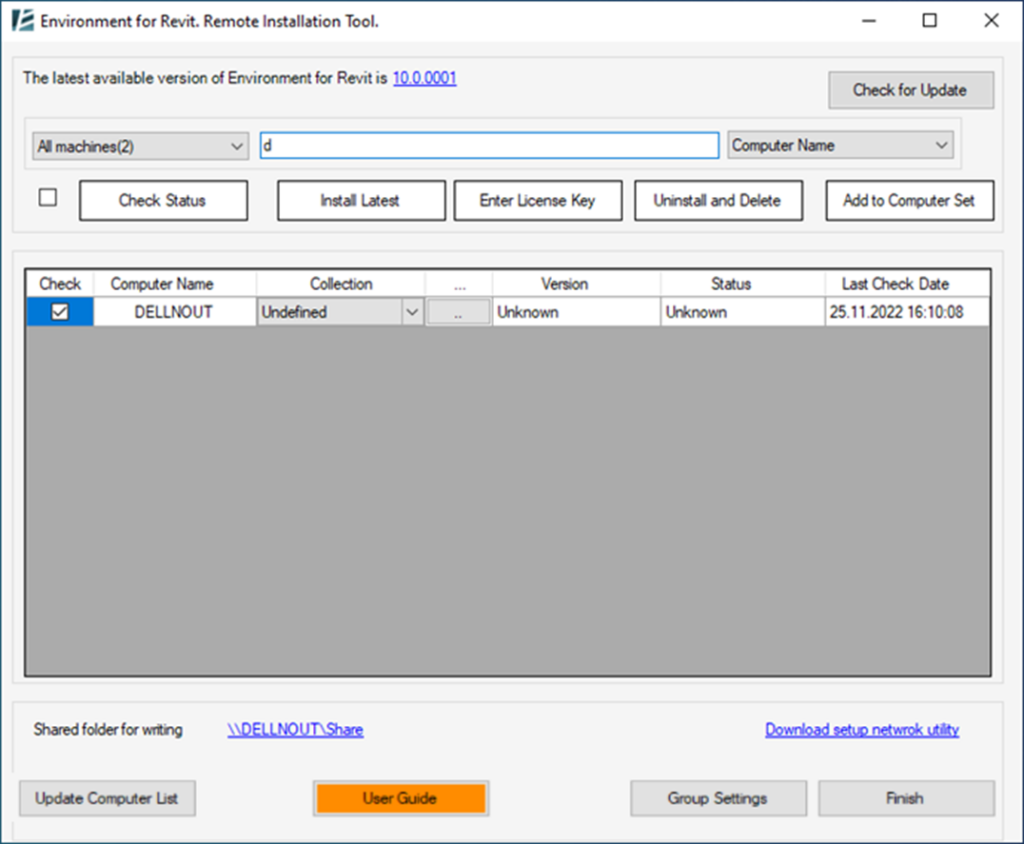
b. “Environment for Revit. Remote Installation Tool” dashboard
Upon launch, the application’s dashboard, “Environment for Revit. Remote Installation Tool” (Fig. 8) is displayed. Here you can change the app’s settings, create user groups, filter data, install, remove, or update Environment for Revit installations within your network. Any action you initiate from the Dashboard will be applied to the selected machines.
5. RITA Dashboard
RITA’s Dashboard, “Environment for Revit. Remote Installation Tool”, provides access to all of the administration tool’s primary functionality including remote modification, removal, and updating of Environment for Revit installations by an administrator for users within a local network. Via the Dashboard, you may also create groups of computers with Environment installed, e.g., all of the computers in the landscape architecture computer lab, obtain information regarding when and on which computers Environment for Revit has been installed, and you can filter data regarding these computers.
RITA Dashboard primary components:
The RITA Dashboard displays controls and buttons for installing, updating, and uninstalling the Environment plugin, plus an option to filter computers on which Environment is installed, as follows:
a. Version and update

1.

Release number of the latest version of Environment for Revit available via the Arch-Intelligence website: https://archintelligence.com.
2.

Button to check if a new version of Environment is available on the Arch-Intelligence website.
b. Filtering controls

Lets you view a subset of all of the computers on which Environment for Revit is installed based on predefined groupings and / or versions of the installations.
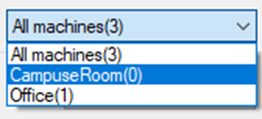
1. Control 1 – Computer Grouping: The first combo box allows you to view all computers, or to filter out computers based on predefined groupings of computers. The number of computers in each grouping is displayed in parentheses next to the group’s name.
2. Control 2 – Filter Criteria: Enter your filter criteria in this text box. RITA looks for the search string in the field defined in Control 3 (Filter Field).

3. Control 3 – Filter Field: Select the field you wish RITA to search for the criteria entered in Control 2 (Filter Criteria).
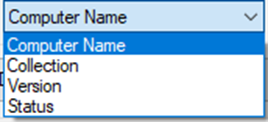
Once you select a field, RITA will filter out the computers in the group selected in Control 1 (Computer Grouping) based on the criteria entered in Control 2 (Filter Criteria).
For example, select the “Computer Name” field in the Filter Field combo box and enter the letter “A” in Filter Field text box. This will filter out only those computers containing the letter “A” in their names and display them in the Computers Table below (Fig.9).
c. Action buttons

1.

Use this checkbox to select or unselect all records in the Computers Table.
2.
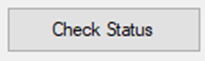
Check the statuses of the selected computers in the Computers Table. See the “Computers Table” section below for the list of possible statuses.
3.

Download (if necessary) and install the most current version of Environment on the computers selected in the table below. The button’s caption and functionality change based on whether the current Environment has already been downloaded or not:
- “Download and Install” – Downloads the most current version of Environment from the Arch-Intelligence website and installs it on the selected computers. Appears when the current Environment installation has not yet been downloaded.
- “Install Latest” – Installs the current version of Environment on the selected computers. Appears when the current version has already been downloaded.
4.
Register’s the Environment system for the selected computers:
- If installing an academic license, then a single key maybe used on as many computers as needed.
- If installing Individual Plus licenses – you may use the same key on multiple machines, but usage is limited to the restrictions of the Individual Plus license.
- For all other licenses, a single key may be used on up to 5 personal machines.
5.
Removes the Environment installation and deletes all associated system files from the computers selected in the Computers Table.
6.
Adds the computers selected in the table to the group (set) of computers selected from the list of computer groupings (see “Filtering controls” above).
d. Computers Table
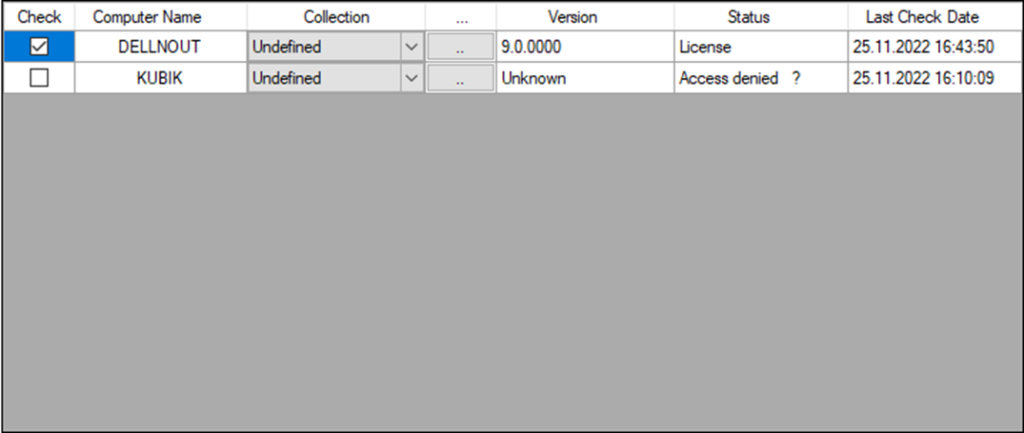
Located in the center of the RITA Dashboard, the “Computers Table” provides information regarding computers with Environment installations and the Environment version installed on each of these computers (Fig.10).
This table contains the following columns:
1. Check: Check or uncheck the checkbox box beside a specific computer to select whether the action you select (from the action buttons described above) will be performed on the selected computer.
2. Computer Name
3. Collection: This column contains the names of the groups (sets) to which the given computer belongs.
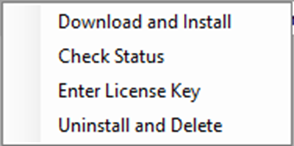
4. /“…” (ellipsis) – Allows you to perform a specific action, i.e., “Install Latest”, “Check Status”, “Enter License Key”, or “Uninstall and Delete”, on the given computer, in place of having to select the computer and click on an action button as described above.
5. Version – The Environment version installed on the given computer.
6. Status – Status of the given computer. The different statuses are as follows:
- “Not installed” – Environment for Revit is not installed on the computer.
- “Not registered” – there is no registered license for the given Environment system.
- “License” – a license is registered for the given Environment system.
- “Unknown” – The status of the Environment installation on the computer is unknown. Occurs when running RITA for the first time and the status of the Environment installation on the computer has never been checked.
- “Access denied” – RITA was not able to access the \Hostname\Admin$ network path, and could not, therefore, access the computer in question. The problem may be the result of a mismatch between local admin passwords, firewall rules, or blocked access to the special network folders С$ and Admin$.
7. Checked Date – The date when RITA last checked the computer.
e. Settings and Additional Actions
1.

Path of the shared network folder where the latest version of Environment is downloaded and which other computers on the local network can access for installing / updating Environment for Revit.
2.
Updates the Computers Table (Fig. 10) with the list of active computers on the network. Updating the list does not fetch the statuses of the computers in the list; to update statuses, select the desired computers and click “Check Status”.
3.
Button for creating a set of computers.
4.
Click to close the dashboard
6. Using RITA – Best Practices
a. Basic Settings
The first thing you should do is set up the shared folder to which RITA can write and which the installation computers can access, as well.
To setup the shared folder:
1. Left-click on the shared folder link
2. A folder selection window will be displayed (Fig.11).
3. Select the path to the shared folder. You must have access to write to this folder as installation files will be uploaded here. This folder must also be accessible to other computers on the network (the installation computers), as installation and auxiliary files are copied from it to the installation computers.

b. Creating computer groups
To simplify working with computers associated with one another, e.g., all the computers in a specific office, RITA offers the option to combine such associated computers into groups (sets).
To create a computer group:
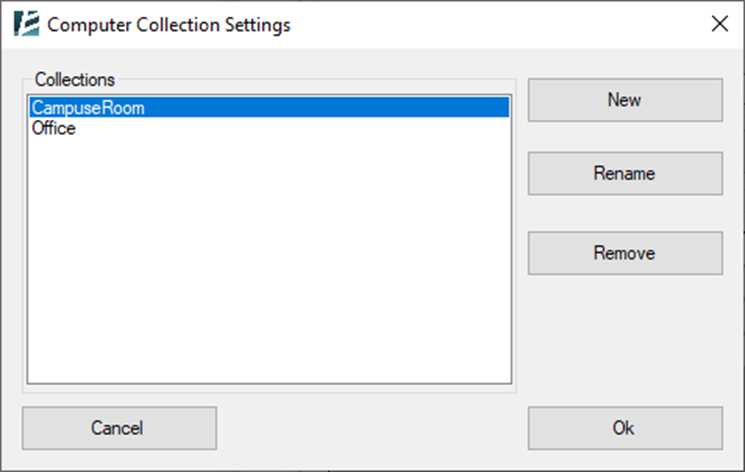
1. Click the ”Collection settings” button:
2. The ”Computer Collection Settings” will be displayed (Fig. 12).
3. The action buttons in the window include:
New – Create a new group.
Rename – Change the group’s name.
Remove – Delete the selected group.
c. Adding computers to groups
To add computers to a specific group (set):
1. Select the computers you would like to add to the group from the Computers Table.
2. Click on the ”Add to Computer Set” button:
3. The “Add to Computer Set” window will be displayed (Fig. 13).
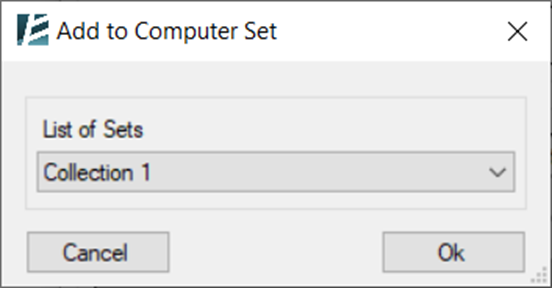
4. Select the group from the “List of Sets” dropdown. By default, the value is “None”. If you leave it as “None’ and click ”Ok”, the selected computers will not be added to any group, and the value ”Undefined” will appear in the computers’ ”Collection” field in the Computers Table (Fig. 9). Selecting any group from the list and clicking “OK” will add the computers to the selected group and the group name will appear in the ”Collection” field for those computers.
d. Checking for the newest Environment version
We recommend checking for a newer version of Environment prior to performing installations or updates. To check for the newest version of Environment click on ”Check for Update”.
e. Installation actions

To carry out any of the installation related actions, follow these steps:
1. Select the computers in the Computers Table on which you would like to perform the desired action.
2. Click on the button for the appropriate action.
The possible actions are:
Install Latest – RITA will install the latest version of Environment on the selected computers.
Check Status – Check the status of the Environment installation on the selected computers.
Uninstall and Delete – Remove Environment from selected computers.
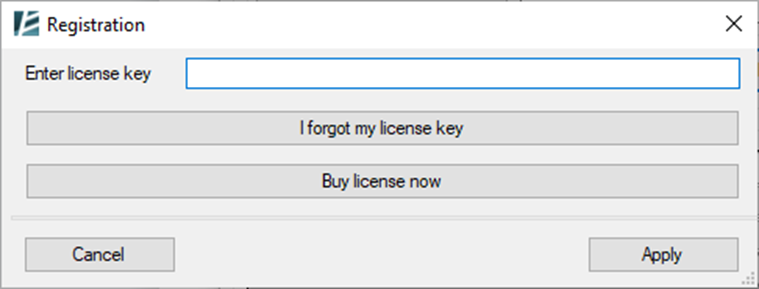
Enter License Key – Will prompt you to enter the license code in the “Registration” window (Fig.14).
If the user has forgotten the license key, then the user needs to click on the ”I forgot my license key“ button. In the window that appears, enter the e-mail under which the license was registered (Fig. 15). An email with the license key will be sent to this email.
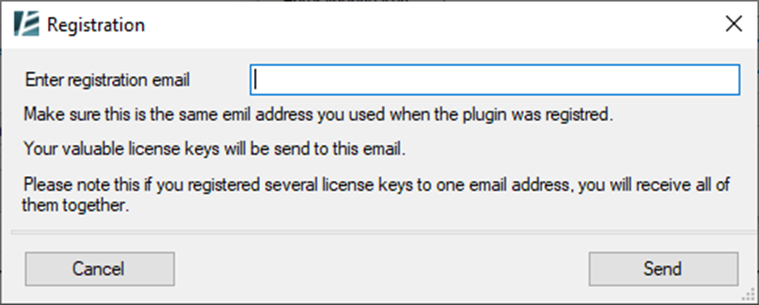
- The Admin needs to know the registration email.
If the user wants to purchase a license, then click the ”Buy license now” button. In this case, you will be redirected to the site where you can select the type of license you are interested in.
Reminder – you may run any of these actions for a specific computer by clicking on the ellipsis, “…” in the Computers Table in the row for the specific computer.