GETTING STARTED
Install
ADD ENVIRONMENT TO FORMA
To start using Environment Tools in Web:
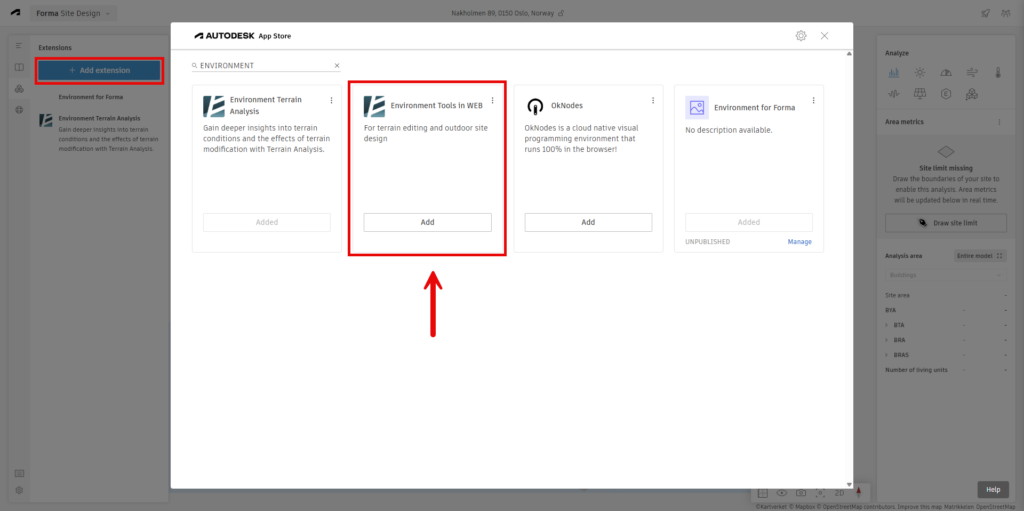
- In Forma, open the Extensions panel.
- Under Autodesk App Store, search for Environment Tools in Web by Arch-Intelligence.
- Click Add.
- Once the extension is added, click it to open Environment.
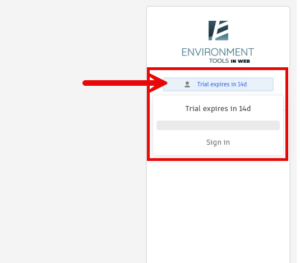
Before you begin, start a trial or sign in with your Environment license.
Note:
- To sign in, use the same credentials you use to sign in to your Environment for Revit license.
- You must be signed in or have an active trial to save your terrain modifications back to Forma.
Workspace
THE ENVIRONMENT WORKSPACE
COMPLETE OR CANCEL A COMMAND
FORMA ELEMENTS VISIBILITY
SAVE CHANGES BACK TO FORMA
UNDO REDO
RULER
THE ENVIRONMENT WORKSPACE
When the extension opens, you will enter the Environment Tools workspace.
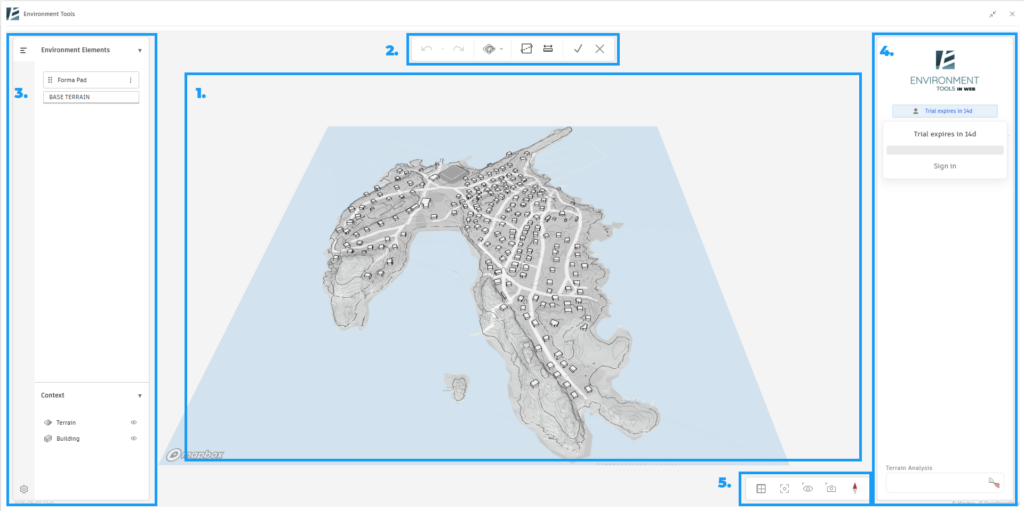
The workspace includes:
- Model Space
Located in the center of the screen. This is where you view and edit your Forma model. - Environment Toolset
Located at the top-center of the Model Space. Use these tools to create and modify terrain. - Browser Menu
Located on the left. Displays Environment elements and their hierarchy.
The original Forma elements are displayed in the lower part of the Browser, where you can also control their visibility. - Actions Menu
Located on the right. Displays settings and actions related to the selected element. - Navigation and View Tools
Located in the bottom-right corner.
COMPLETE OR CANCEL A COMMAND
While working with Environment tools
- Press Enter or click the V button to complete the active command and save the changes.
- Press Esc or click the X button to exit the active command without saving the changes.
FORMA ELEMNTS VISIBILITY
Use the Context section in the Browser Menu to control the visibility of elements coming from Forma.
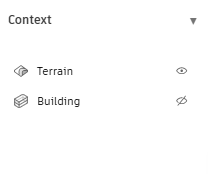
- Expand Context.
- Locate the Forma element category you want to show or hide.
- Click the visibility icon next to the category to turn its display on or off.
SAVE CHANGES BACK TO FORMA
When you finish modifying the terrain
- Click the V button to apply the changes.
- Environment saves the modifications back to Forma.
- You will return to the Forma workspace, where the modified terrain is displayed.
Note:
- All information about the Environment modifications is stored in the Forma project for future use. No project data remains on the Environment Tools servers.
- Elements modified with Environment are visible in Forma, but they can only be edited using Environment Tools.
- To continue editing, reopen the Environment extension. Previously modified elements will become editable again and retain their Modification History.
UNDO REDO
Use the Undo and Redo buttons at any time while working to move backward or forward through your recent changes.
RULER
Use the Ruler tool to measure distances and areas directly in the model.
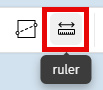
- Activate the Ruler tool.
- Click once to place the first point.
- Click again to measure the distance between the points.
- Continue placing points to create a chain of lines. The Ruler displays the total length of the entire chain.
- Close the loop to display the area of the enclosed shape.
TERRAIN
Terrain Zones
CREATE A TERRAIN ZONE
EDIT A TERRAIN ZONE BOUNDARY
CREATE A TERRAIN ZONE
Terrain Zones are the main objects used to modify terrain with Environment Tools.
Create a Terrain Zone for the area you want to modify, then use the terrain editing tools to control its shape, elevation, slope, hierarchy, and Modification History.
The following sections explain the different ways you can create and modify Terrain Zones.
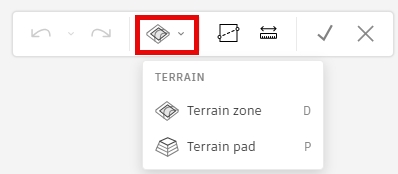
DRAW A NEW TERRAIN ZONE
- Select the Terrain Zone tool.
- Click in the model to place boundary points around the area you want to modify.
- Press Enter or click the V button to complete the Terrain Zone.
CREATE A TERRAIN ZONE FROM EXISTING FORMA GEOMETRY
You can also create a Terrain Zone from existing geometry in your Forma model.
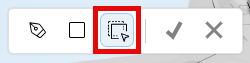
- Select the Terrain Zone tool.
- Click the Select icon.
- Select an existing Forma geometry, such as a Site Limit.
- Press Enter or click the V button to complete the Terrain Zone.
Note:
-The selected boundary can be taken from any suitable geometry in Forma.
EDIT A TERRAIN ZONE BOUNDARY
You can edit the boundary of an existing Terrain Zone at any time.
- Double-click the Terrain Zone,
Or - right-click it and select Edit Profile, to enter boundary editing mode.
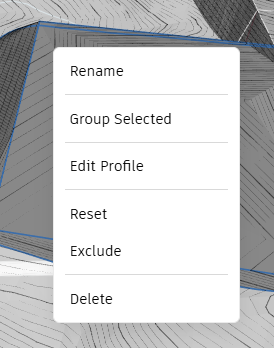
- Move the existing boundary points or lines to adjust the shape of the zone.
- Hold Alt on your keyboard to add or remove boundary points.
- Press Enter to apply the changes.
Modifying Terrain Zones
PUSH / PULL
TERRAIN PAD
FREEFORM
INFLATE
SPLIT
MODIFICATION HISTORY
PUSH / PULL
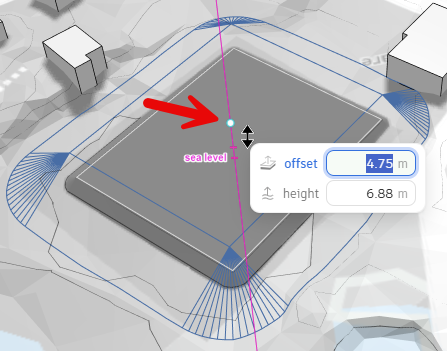
Use Push/Pull to quickly raise or lower a Terrain Zone while keeping it connected to the surrounding terrain.
- Select the Terrain Zone.
- Click the control point in the center of the Terrain Zone to activate Push/Pull.
- Drag the zone up or down to modify its elevation.
Or - Enter an Offset from the current elevation.
- For leveled flat pads, you can also enter an absolute Height from Sea Level. (Press Tab on your keyboard to switch between the available value fields)
Note:
Height from Sea Level is available only for leveled flat pads and is not available for graded Terrain Zones.
You can adjust the Grading Slope to control how the modified Terrain Zone connects back to the surrounding terrain.
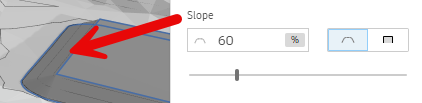
- In the Actions Menu, enter an exact slope value.
Or - Use the slider to adjust the slope interactively.
Or - Select the Vertical option to create a vertical connection to the surrounding terrain.
TERRAIN PAD
Use Terrain Pad to create flat grading areas such as building footprints, platforms, and flat landscape areas.
A Terrain Pad follows the same basic logic as a Terrain Zone and can be modified using the terrain editing tools.
You can create a Terrain Pad in two ways:
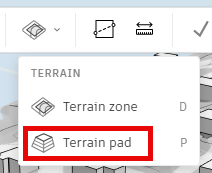
- Open the dropdown menu under the Terrain Zone tool and select Terrain Pad to create a new pad directly as you would do with a Terrain Zone.
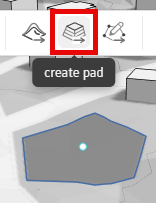
Or - Select an existing Terrain Zone and click Create Pad to convert it into a Terrain Pad.
FREEFORM
Use Freeform to edit individual points within a Terrain Zone and create graded, sloped, or more complex terrain forms.
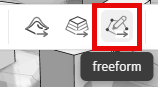
- Select the Terrain Zone.
- Activate Freeform by clicking on the Freeform button.
- Select a control point.
- Set its Offset or Height from Sea Level. Press Tab to switch between the available value fields.
- Alternatively, drag the point manually to the desired elevation.
- Hold Alt on your keyboard and click anywhere on the Terrain Zone to add a new point, or click an existing point to remove it.
- Press Enter to apply the changes.
Note:
Once Freeform is applied, the Terrain Zone no longer inherits its original terrain grading.
INFLATE
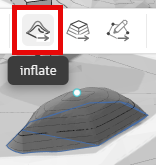
Use Inflate to apply a smooth deformation to an entire Terrain Zone and create softer, more rounded terrain forms.
- Select the Terrain Zone.
- Click the Inflate button to activate the tool.
- Adjust the Inflation slider to control the amount of deformation while previewing the resulting mesh.
- Press Enter to apply the changes.
SPLIT
Use Split to divide one Terrain Zone into multiple independent Terrain Zones.
- Click the Split button to activate the tool.
- Select the Terrain Zone.
- Draw a split line across the zone.
- Continue splitting the Terrain Zone as needed.
- Press Enter to apply the changes
The original Terrain Zone is divided into separate zones.
Each resulting zone can then be modified independently, allowing different parts of the original area to have different elevations, slopes, or terrain behaviors.
MODIFICATION HISTORY
Each Environment object stores the history of the modifications made to it.
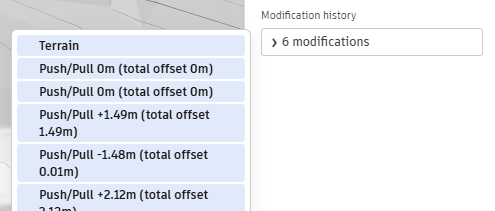
Use Modification History in the Actions Menu to review previous states and restore an earlier version of the selected element.
This allows you to test different terrain solutions without permanently losing previous modifications.
Terrain Hierarchy
TERRAIN ZONE HIERARCHY
FOLLOW TERRAIN
TERRAIN ZONE HIERARCHY
When Terrain Zones overlap, their position in the Browser Menu determines the order in which they affect the terrain.
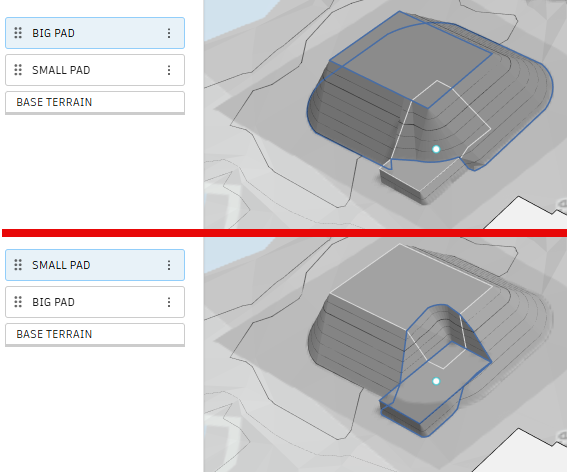
To change the hierarchy:
- Locate the Terrain Zones in the Browser Menu.
- Drag a Terrain Zone up or down in the list.
Changing the order changes how overlapping zones contribute to the final terrain geometry.
Tip:
Give each Terrain Zone a clear name to make navigation in the Browser Menu easier. Use Renamein the Actions Menu, or open the three-dot menu next to the zone in the Browser Menu and select Rename.
FOLLOW TERRAIN
Use Follow Terrain to control which underlying surfaces affect the shape of the selected Terrain Zone. Follow Terrain is enabled by default.
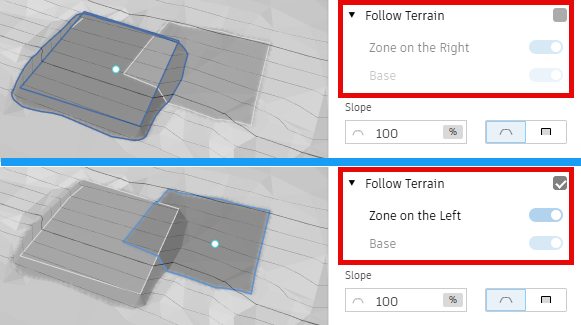
- Select the Terrain Zone.
- In the Actions Menu, expand Follow Terrain.
When Follow Terrain is enabled:
- Base is automatically enabled, meaning the Terrain Zone follows the original terrain (existing ground).
- Any overlapping Terrain Zones are listed separately.
- Turn each overlapping Terrain Zone on or off to control whether its modifications affect the selected zone.
- Turn Follow Terrain off if you want the Terrain Zone to ignore both the Base terrain and any overlapping zones below it. Its shape will then be controlled only by its own control points.
NOTE:
When Follow Terrain is enabled, Push/Pull changes the offset from the original shape of the Terrain Zone but keeps the shape of the underlying terrain. The zone is raised or lowered while still following the original terrain form.
ANALYSIS
Cut and Fill
CUT AND FILL VALUES
CUT AND FILL ANALYSIS
CUT AND FILL DISPLAY SETTINGS
CUT AND FILL VALUES
Use the Earthwork section in the Actions Menu to review Cut and Fill quantities at any time.
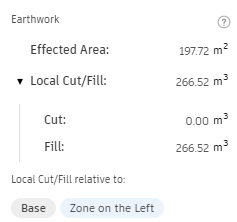
When a Terrain Zone is selected:
- Affected Area shows the area affected by the selected Terrain Zone.
- Expand Local Cut/Fill to review the total earthwork volume for the selected Terrain Zone.
- Cut shows the excavated volume.
- Fill shows the added volume.
- Under Local Cut/Fill relative to, you can see which surfaces are used as the reference for the calculation, such as Base or other overlapping Terrain Zones.
When no Terrain Zone is selected:
- Expand the Net Cut/Fill to show the total net Cut and Fill for the project.
CUT AND FILL ANALYSIS
Use Cut and Fill Heatmap analysis to evaluate the earthwork in your project.
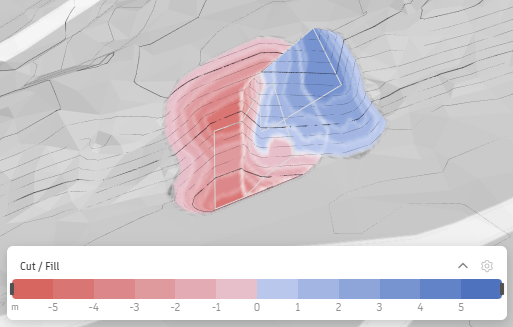
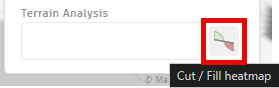
Activate or deactivate the analysis using the Terrain Analysis controls in the Actions Menu.
CUT AND FILL DISPLAY SETTINGS
Click the Settings button next to the terrain analysis controls to adjust the range and scale of the Cut and Fill visualization.
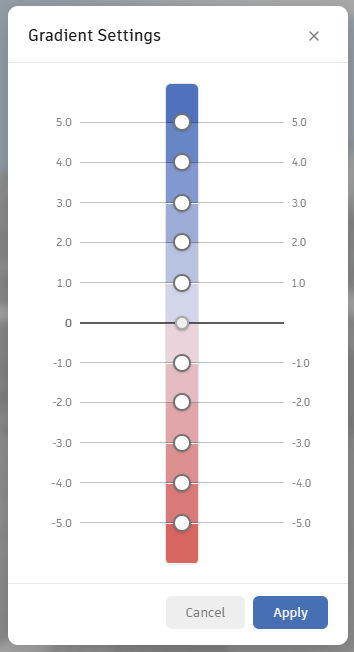
- Use these settings to control how the analysis is displayed and make different amounts of Cut and Fill easier to identify across the site.
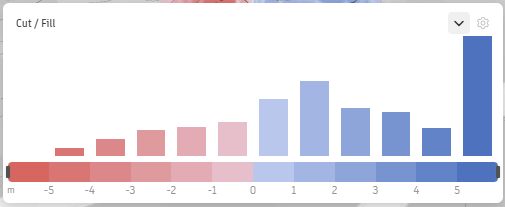
- Click the arrow next to the Settings button to expand the view and see the Cut and Fill quantities represented within each range.